Pages

Saturday, August 16, 2014

Depths & Shallows Artist floor talk

Our exhibition is winding to a close tomorrow, but before it ends we (Spike Deane, Emilie Patteson and Alexandra Frasersmith) are having an artist floor talk today at 2pm. M16 Artspace.


Thursday, August 14, 2014

Plasmodesmata commission and cat

Working on the design offerings for a commission based on plasmodesmata. Thistle doesn't care.

Tuesday, August 12, 2014

Hand or Footprint Casting Tutorial


Making a plaster cast of your hand print or footprint is another way to look at the casting process. Easy, because you just press your hand or foot into clay leaving an imprint behind, a bit like when you leave a footprint in sand at the beach or a boot print in mud. Then you fill up the ‘hand or foot shaped space’ with plaster. When the plaster sets and hardens you have a replica of your hand print.  


 So what do you need? And where can you get it?

  • Something to cast in that is big enough for your hand or foot. A shallow dish. Plastic and foil are good because they are flexible...or try as I have  and use a silicon cake mould. I got mine from the op-shop.

  • Clay or play-doh from your craft store

  • Plaster also known as plaster of Paris. You can buy small amounts of plaster from Hardware stores (like Bunnings) or craft stores (like Eckersleys). I get through a lot so I buy mine in 20kg bags.  There is also light weight plaster you can get from craft shops.
  • A container to mix your plaster and water. You can use a jug or a small bucket.
  • Water 
  • Spoon or paddle pop stick for mixing
  • To be safe wear a dust mask when scooping or pouring plaster powder.


Time to start!

Make a smooth layer of clay or play-doh in the bottom of your 'casting dish'

Press your hand firmly into the clay. You may need to push your fingers in further with your other hand or get a friend to help.


Remove your hand and see the imprint left behind

If you have a deep dish like mine, you won't need to fill up all the space with plaster. To remind my self I mark a line to the thickness I want. 
  •  Making the plaster. Follow the instructions on your packet! Some products can be different.

  • I always add plaster to water. Pour some water into a jug or bucket and sprinkle the plaster onto the water. You can see it dissolve into the water. When it stops dissolving and you can see plaster on the surface, you can stop adding. Then stir your plaster (using a spoon or paddle) mix gently until it's the consistency of a smoothie or pancake batter.


    Pour your plaster into your dish and tap the sides of your container to encourage any bubbles to rise to the surface.
        Waiting...
        Now you need to wait for the plaster to set. Plaster, as it hardens goes through an 'exothermic' reaction. That means it produces heat. As the plaster sets, it starts off cool then it heats up and then cools again. Once it has cooled after heating you know that it is almost set and ready.


a warning...Don't submerge your hand or foot in a container of plaster while it is setting. Because of the exothermic chemical reaction (the plaster generates heat) your skin can get burned if it is surrounded by a thick layer of plaster.


When the plaster is set, remove your mould. Peel and clean off the clay.


And now you have a plaster cast of your hand! 

Let the plaster dry thoroughly for a couple of days and then you can paint and decorate your cast. Or drill some holes so you can hang it up.  Have a search on the Internet to get your imagination flowing.


Thursday, June 12, 2014

Brazil, Cuiaba. Game 1

Hello,
We are in Cuiaba now for the Australia v Chile game. You know I said to Dougie, shall I pack some tea bags and he scoffed at me, though also there are no kettles in rooms any way. I have learnt how to say hot tea, (sha Kent e) as when Dougie ordered..."HOT TEA" he got a hot cheese sandwich!
Warmer here and not very wheelchair friendly streets, lots of broken crumbling pavements. Last night there were police and the armed forces out all over the place (big guns / rifels) Not sure if that is normal or a one off. Had dinner (Jantar) by choosing from the menu by pictures and guesses. Managed to get all vegetarian from a fairly meaty menu.
The breakfasts here are included in the hotel prices, lots of fruit and allsorts, I had a coconut rice condensed milk sort of thing in Rio. Dougie took my word for its flavour.
Anyway almost time to get Dougie up, due to the hour time difference in Cuiaba I got up to assemble the shower chair too early. The sun is now up, very bright. They have a pool here, which I shall check out soon. This is the swishest place in Cuiaba and of all the hotels we are staying in, we were lucky to get anywhere in Cuiaba.
We haven't killed each other yet, but it's been close (especially for me)


Monday, June 2, 2014

KIGA

The inaugral Kirra Illuminated Light Awards (KIGA) opens this Tuesday 2nd June at 6pm. I can't attend as I'm off overseas soon and need to concentrate on getting thngs ready before I go. Kirra have produced a catalogue and one on line here. There are some really fabulous pieces. One of my favourites is Jeremy Lepisto's The Aquisition, have a look at his work and blog here.

Midnight grove (2014) Cast Glass, reclaimed Cedar, Gold leaf, Copper and LED fixture.

Monday, April 28, 2014

Fire polish ALL the things

This is a test for how sand effects the texture of the glass while firepolishing. Everything else in there is along for the ride.


Friday, April 4, 2014

Selkie bits

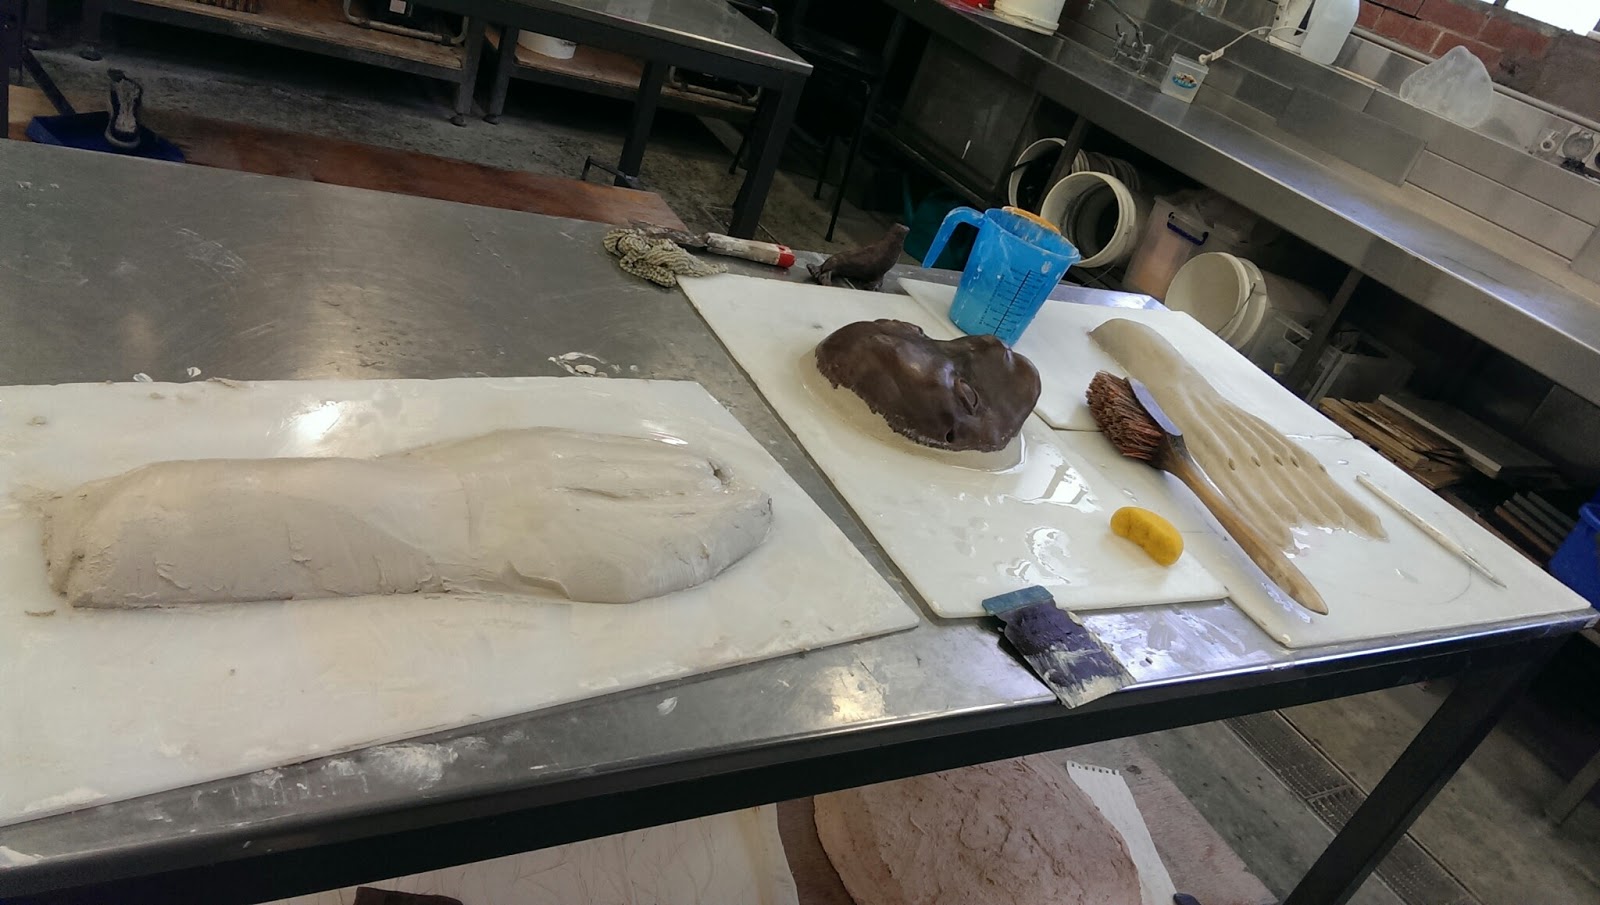
At the end of the week I have almost all my selkie 'bits' sculpted. Making moulds tomorrow.


Thursday, April 3, 2014

Selkie sculpting

More selkie feet.

Tree panels

Tall tree panels out of the kiln.


Glass puddle

The glass I was thinning is cooled. The next slab I do, I will take the temperature up to 840 and hold it a bit longer to get more bubbles out and it could do with being a bit thinner.


Tuesday, April 1, 2014

Selkie mask

I poured another wax seal face last night. It's far more asymmetrical that I remember. I'll make a slump mould tomorrow.


Flattening patties

An experiment on thinning out these thick furnace glass patties. Usually they are great this thick for casting but I'd like some glass for slumping... for the selkie project.

fat furnace pattie for thinning

Fire polishing 'Midnight grove project' test 1

So this is the first test. 680 is too hot for them standing upright, which I wanted to test. I would rather have then standing up but I will nestle them in powder if I have too.

sandblasted pieces in the kiln

kiln watching

at top temp 680c