Pages

Showing posts with label parasitoid. Show all posts

Monday, June 7, 2010

Polyfiller, painting, polishing and kilnsitting

I ran back and forth between hopeful watching for the for the honey comb face nose to lengthen, and preparing the walls at uni for Wednesday's  assessment. Eventually at about 15:00 I tried out 720deg C. I think it may have worked. I finished the cerium stage of polishing for the peas.
Dougie chauffeured me to Bunnings only to find they had run out of the magnets I wanted. there were others..the trick like anything else in the rows upon shelves is finding IT!

Bubblebathed, Acetoned and drying. 


Friday, June 4, 2010

Did I mention rain?

Dougie drove me to Botany and back to pick up the strip magnet. Lucky for me, for other wise I would have been very wet. 
This is the view from the cold working room, the down pipe on the left was jetting water about a foot up..though by the time I found my camera the rain had lessened some.
What a way to spend a wet day! In the cold working room..using machinery that needs water, though one does feel prepared in gumboots, waterproof apron, earmuffs, face mask and goggles.

My Kiln with the honeycomb face cooled down this afternoon..a bit of a disappointment that the face has no nose. After some kiln schedule swapping I managed to get the same kiln for another few days (higher and longer temp)...though it has put my schedule out of wack....it will be tight!


Sunday, May 30, 2010

Wider sheets of honeycomb beeswax

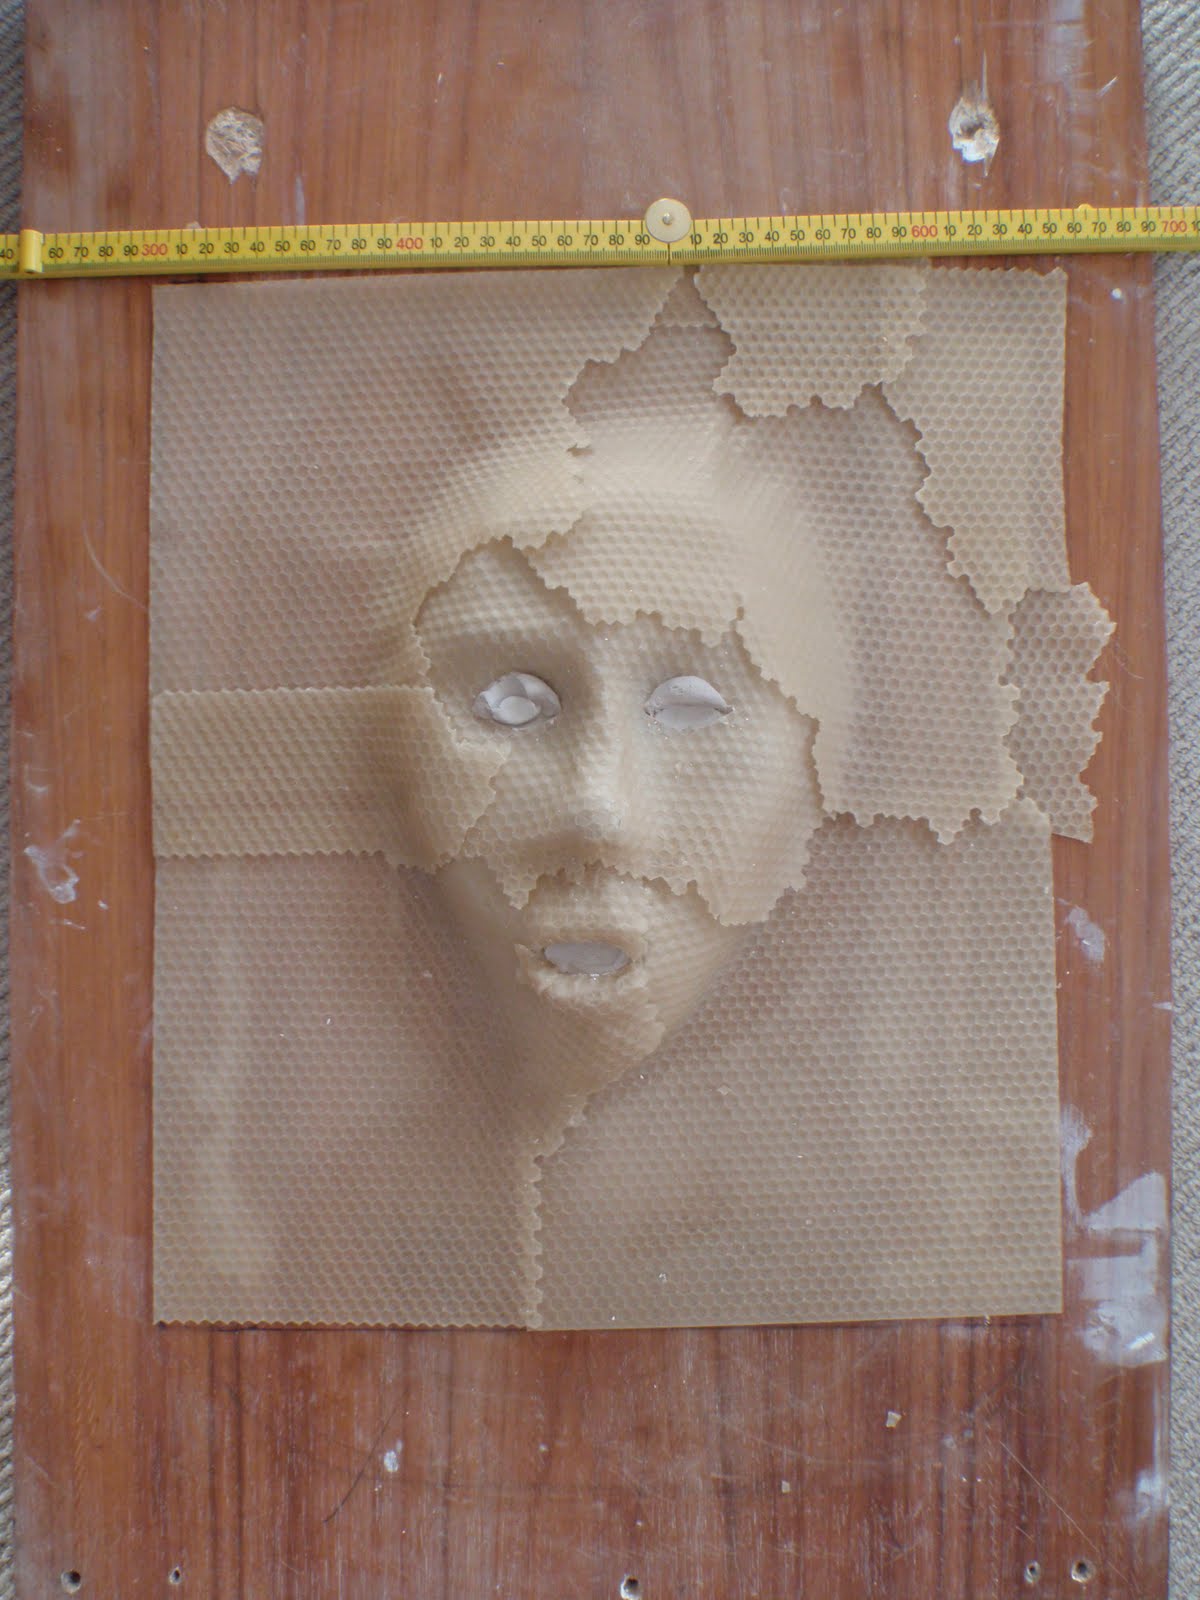
The Candle shop at the Rocks stock longer sheets of beeswax, so here is the second attempt.


Wednesday, May 26, 2010

beeswax face and did I mention the RAIN?

So I have a clay face that I am reasonably happy with, now to get the wax over the top. I put some cling wrap over the clay to stop it from getting too wet. as I was using hot water to soften the areas that I needed to manipulate. This took the whole afternoon and the entire time it absolutely poured with rain

Tuesday, May 25, 2010

More mask making

Jane is up to some interesting things....

The papier mache mask not having quite fitted the bill, I set about shaping a clay face. I had previously put this  method in to the 'too hard basket' ..but since everything else is going into 'the even harder basket' I gave it a shot. 

Then on to blowing with Nadine this evening and then home to fiddle with the bees wax, which I think is getting there.

 
In Howie's words "If ya can pull it off, i'll be rully impressed"

Monday, May 24, 2010

2 blowing slots, screen printing spiders...WET PAINT

Screen printing and adding a layer of plaster to my mask were sandwiched between blowing with Deb in the morning and blowing with Nadine in the evening.

Opening the kiln this morning.

Screen printed spiders.

Mask with plaster.

Latest batch of blown glass.

Tuesday, May 18, 2010

Kiln formed glass with Kirstie Rea - 10 - results

So here is the what that stack of 8 layers of glass looks like after the firing.  

And then After the diamond saw.
Colour tests for parasitoid.

Sunday, May 16, 2010

kiln formed glass proposal - continued

In our Kiln forming lesson, we had one on one time to explain our concept for our assessible project to Kirstie which for the time being I will call Parasitoid (yes I know, really rolls off the tongue)

These are some things to think about:

Where does the honey comb texture end and start?
Well I had imagined the texture on the face and border, just the face and it starts to get a bit "spiderman". I prefer ALL honeycomb as the piece feels like a whole rather than divided.

Are the edges of the work straight cut or curvy? 
The main reason i'll stay away from a curvey edge is that with the amber coloured glass, it will look like a pool of honey..whilst I want the insect allusion, I don't want to specify bees. The rectangle puts us in mind of portraiture..and Dougie says the tombstone. (part of the story here is death so that's quite apt too)
Engraving on the inside?
may be..i really like the idea but need to do some tests on how it would look coming through the texture on the top..and think about possibilities...one option is detailed wasps or text or..
If i engrave on the inside it has to add rather than confuse.
Thickness
Kirstie suggested that I fuse 3 layers of glass. One amber and 2 clear. I have put some tests in on wednesday. 
Gaps at eyes and mouth
To create the 'holes' at eyes and mouth she suggested I sandblast them before I slump into the mould. My only concern with this is that I will have to get the placement exact..not sure I trust me or the glass enough to go where i want it to...maybe sand blast it after the slump.